

To get your own tagbox or chatter box just follow the folloowing steps.
The changes must be made to your HTML of you blog, so go to your template folder in your blogger dashboard.
There you'll see a long list of HTML codes, pretty confusing at first.
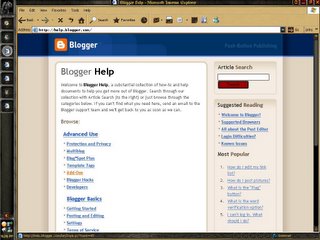
Now that you have that, to get the HTML code for a chatterbox or say a polling box, you'll see on the sidebar in your dashboard a section named "blogger help", click on blogger help.
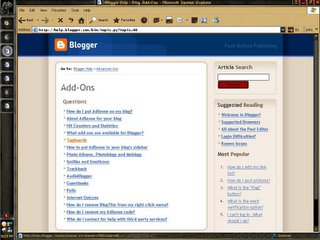
You'll see a list of options that you can do to your blog, for the chatter and poll boxes , click on "Add-ons" under Advance use.
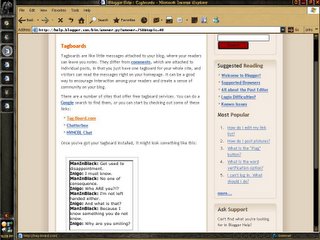
Here you'll see a long list of add-ons you can add to your blog. For example, say you want the chatter box, then you have to click on "tagboards", here you'll get a professional explanation of what a tagboard is, read all that and you'll see you're given three links.All three are pretty goodi went for http://tag-board.com/. Here you just have to follow the instructions that follow about signing up. Get an account .
In general, eventually you'll be shown a long list of HTML coding, now all you have to do is copy this chunk of text and paste it into the HTML of your blog as i said earlier in the template section of the dashboard.
IMPORTANT: the location of the tagboard depends on where you paste in your HTML cod of the blog, HTML can be pretty confusing, look for things like sidebar or links and paste it their if you want it on the side bar of your blog.
Well thats about it. Just for better explanation, here's some screenshots.
No comments:
Post a Comment